OnlyFans has changed the way content creators connect with their audience. Whether you’re a model, artist, or influencer, OnlyFans provides a unique space to share exclusive content with your followers. However, there might come a time when you wish to change your registered location on the platform. Perhaps you’ve relocated, or you simply want to appeal to a broader audience by diversifying your geographical presence. Whatever the reason, learning how to change your location on OnlyFans is a fundamental skill that can enhance your online presence and broaden your reach.
In this comprehensive guide, we’ll walk you through the step-by-step process of changing your location on OnlyFans.
Changing Location on OnlyFans Using a PC
Here’s how you can change your location on OnlyFans using a PC:
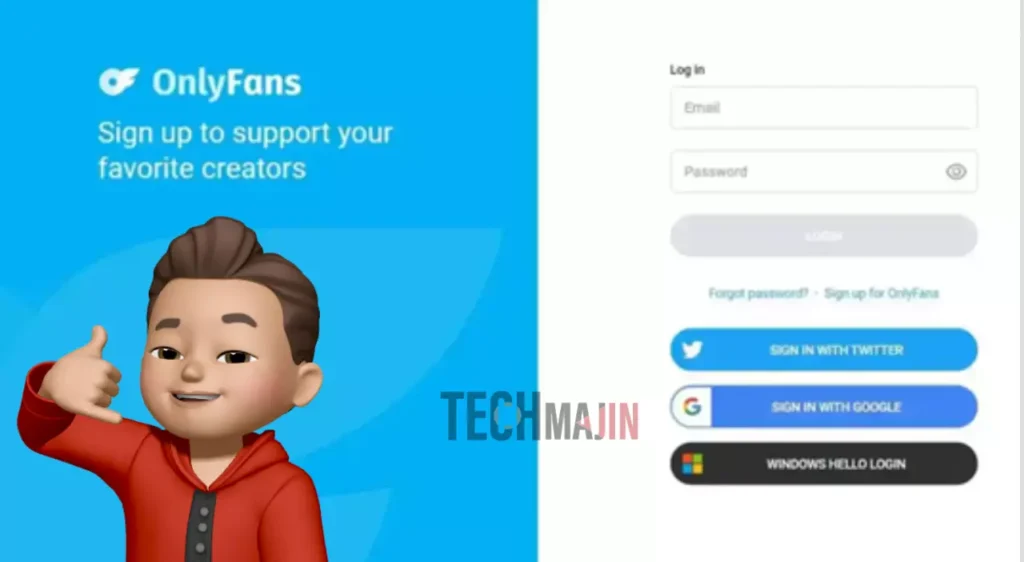
- Log in to your OnlyFans account using your credentials.
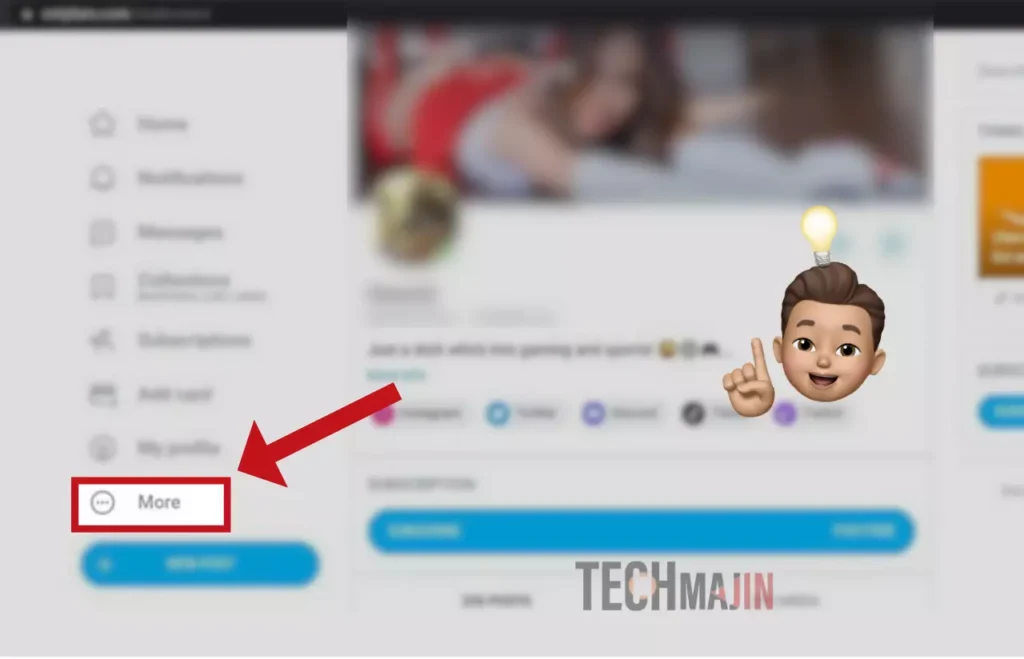
- Locate the “More” option in the menu given on the left of the screen and click on it.
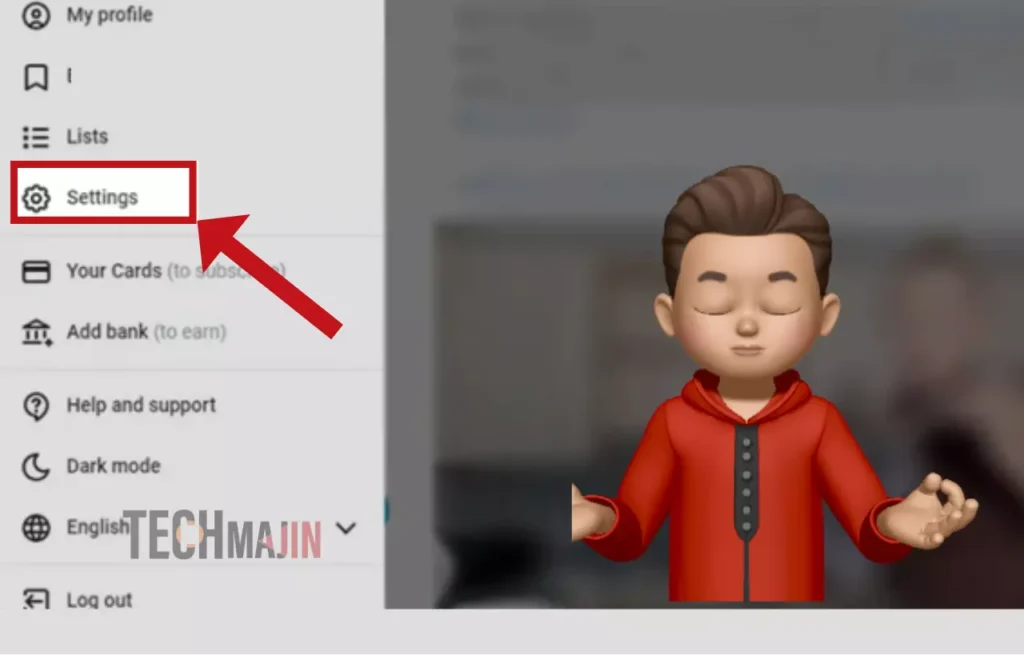
- From the menu that appears, select the “Settings” option.
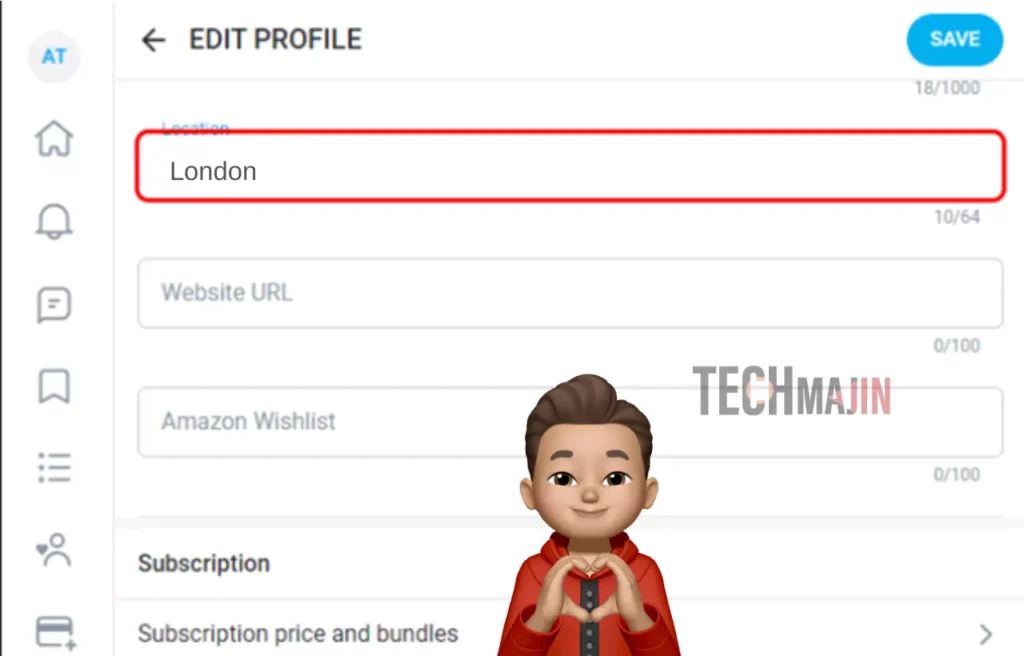
- Within the settings, locate and click on the “Profile” section.
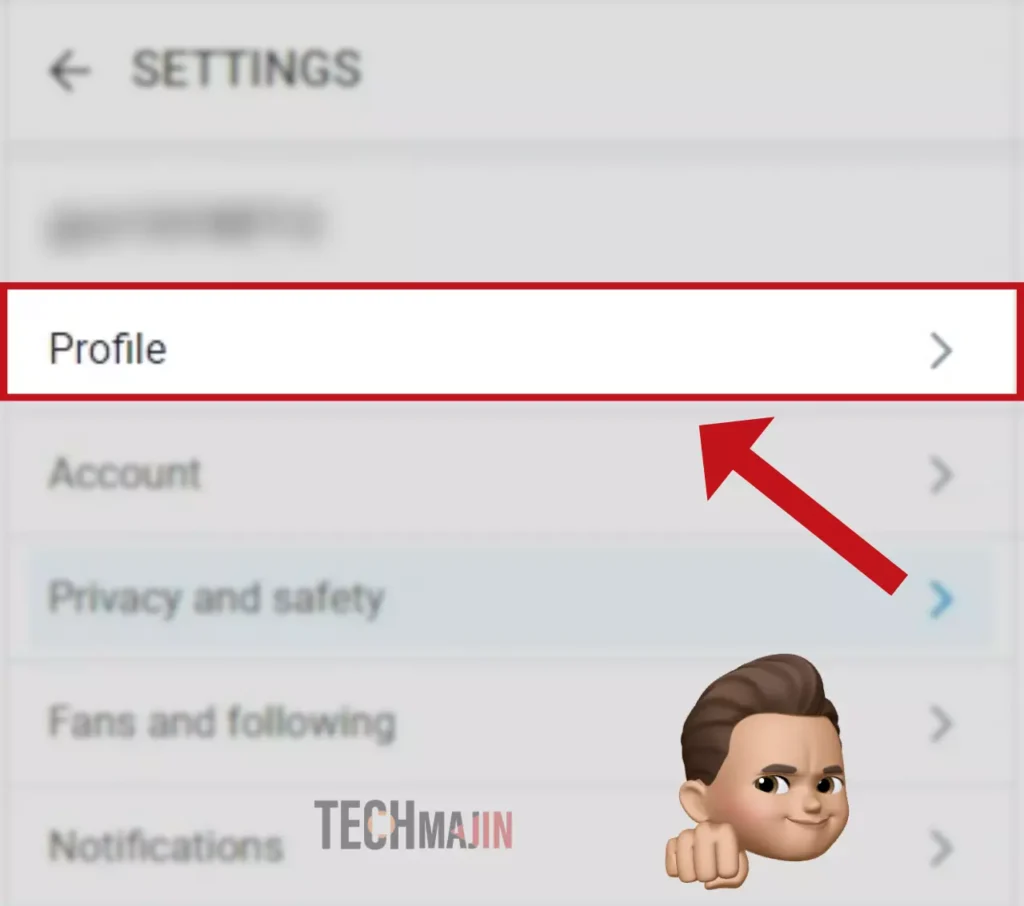
- Enter your new location and confirm the changes.
Changing Location on OnlyFans Using a Phone
Follow these steps to update your location on OnlyFans using your iOS or Android device:
For Android
- Go to your phone’s home screen and find “Settings.”
- Scroll down and find “Apps” in your settings.
- Find OnlyFans in the list of apps and select it.
- Tap “Permissions,” then “Location,” and choose your preferred option: “Allow only while using the app,” “Ask every time,” or “Don’t allow.”
For iPhone
- Start from your home screen, find “Settings,” then go to “Privacy & Security.”
- Within “Privacy & Security,” select “Location Services.”
- Scroll down to find OnlyFans in the app list.
- Tap OnlyFans and choose your preferred option: “Never,” “Ask next time or when I share,” “While using the app,” or “Always.”
Read Also: Get More Subscriber on OnlyFans
Changing Location on OnlyFans Using VPN
Protecting your privacy while changing your location on OnlyFans is paramount. Virtual Private Networks (VPNs) are excellent tools for both security and access. Here’s how you can use a VPN to update your location on OnlyFans:
- Choose and install a reputable VPN app.
- Launch the VPN app on your device.
- Search for and connect to a server in your desired location.
- Access OnlyFans and log in.
- Your OnlyFans location will align with the server location you’ve chosen.
Verifying VPN Effectiveness
To ensure your VPN is working as intended, visit a site like IPlocation.net to check your visible IP address. If your real IP address is still displayed, try the following steps:
- Reconnect to the VPN app.
- Clear cache to delete location information saved from other sites and apps.
- Disable any app that tracks your geolocation.
Choosing the Right VPN for OnlyFans
While free VPN apps exist, opting for a paid VPN can enhance your online security. Here are some recommended VPNs:
- NordVPN: Offers a vast collection of 5,000 servers worldwide.
- Surf Shark: Provides a budget-friendly option with fast servers.
- IPVanish: Boasts 10 years of experience and numerous satisfied customers.
- ExpressVPN: Features high-quality servers in 94 countries and robust security tools.
- CyberGhost: Offers over 9,000 servers in 91 countries and focuses on privacy.
Geo-Blocking on OnlyFans
If you prefer not to change your location but want to restrict access from specific areas such as country states by blocking them. Here’s how you can implement it:
- Open your OnlyFans account and find “Settings.”
- Locate “Privacy and Safety” in the settings.
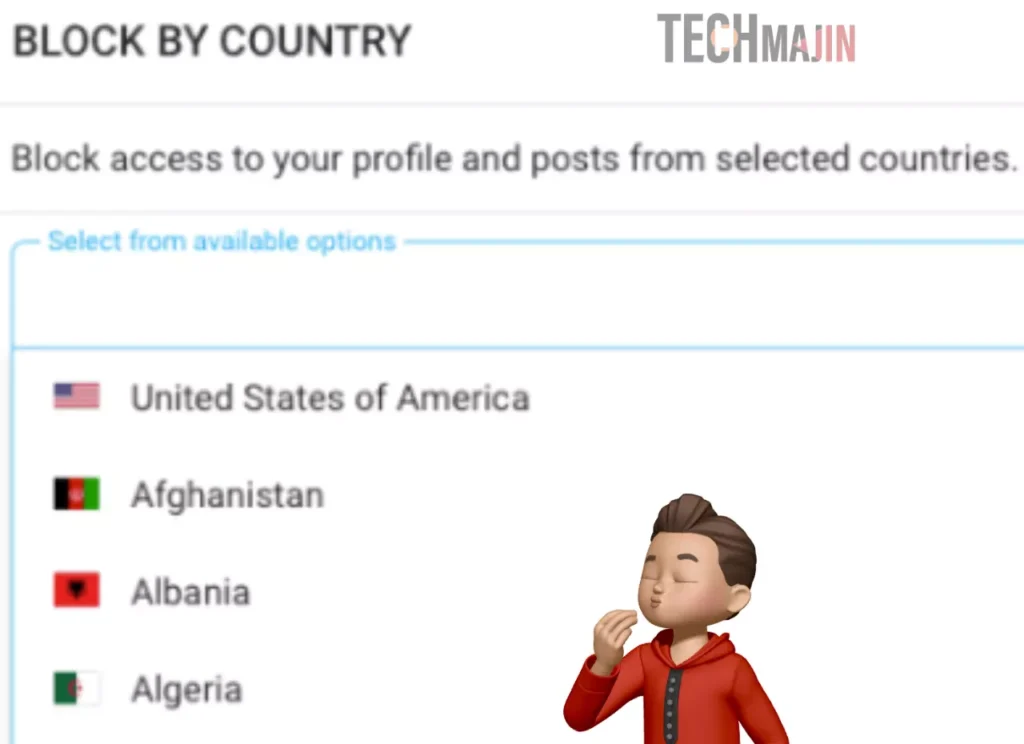
- Scroll down and select “Block by Country.”
- Choose the country you want to block or specify a more precise location.
- Optionally, add the IP addresses you wish to block in the same section.
Is Blocking and Restricting the Same on OnlyFans?
Understanding the difference between blocking and restricting on OnlyFans is crucial for managing your OnlyFans interactions:
Blocking states, areas, and countries: Accounts, countries, or areas you block on OnlyFans won’t be able to see your profile, interact, or subscribe.
Restricting an account on OnlyFans: Individuals you restrict on OnlyFans can still subscribe and access your content, but they can’t message or interact with you.
Conclusion
Learning the skill of changing your location on OnlyFans can unlock new avenues for growth and privacy. This comprehensive guide has equipped you with the knowledge to seamlessly navigate this process, whether on PC or mobile devices. By following these steps and integrating the power of VPNs and Geo-Blocking, you’re poised to enhance your content’s visibility while safeguarding your personal information.
FAQs
1. Can I set the location on my OnlyFans?
Yes, you can set your location on OnlyFans through the “Privacy Settings” in your account. This allows you to update your location information according to your preferences and content strategy.
2. Can OnlyFans track my location if I don’t share it?
Yes, OnlyFans can track your location even if you don’t share it. They have access to your device’s IP address and GPS information as part of their platform agreement. Using a VPN can help enhance your privacy and prevent location tracking.
3. Can OnlyFans location be changed on any device?
Yes, your location on OnlyFans can be changed on any device, including Windows, Android, and iOS. This flexibility allows users to modify their location settings according to their preferences and needs.
4. Can OnlyFans creators see your location?
No, you have the option to choose whether or not to reveal your location on OnlyFans, allowing for flexibility in sharing personal information with your audience or other creators.
5. Should I use a VPN for OnlyFans?
Although it is not compulsory to use a VPN, it is better to use one. It enhances online privacy by masking your IP address and location, safeguarding your personal information from potential threats. With a VPN, you can maintain control over your online presence and protect sensitive data while navigating the platform securely.


